
As the season winds down and your aquatic facility prepares to close its gates, it's the perfect time to ensure that every detail, especially your surfacing, is ready for a restful off-season. Whether you manage a bustling splash pad, a busy pool deck, or a locker room that's seen countless bare feet this summer, thoughtful inspection and maintenance now can make all the difference later. At Life Floor, we know how important it is to protect your investment and keep your spaces safe, slip-resistant, and beautiful year after year.
This guide will walk you step-by-step through inspecting and maintaining your Life Floor, from post-season care to recognizing signs of end-of-life and planning for replacement. That's why we've put together this easy-to-follow checklist to help you confidently close out the season and start planning for next year's success.
Inspect every installed area once operations end, this includes:
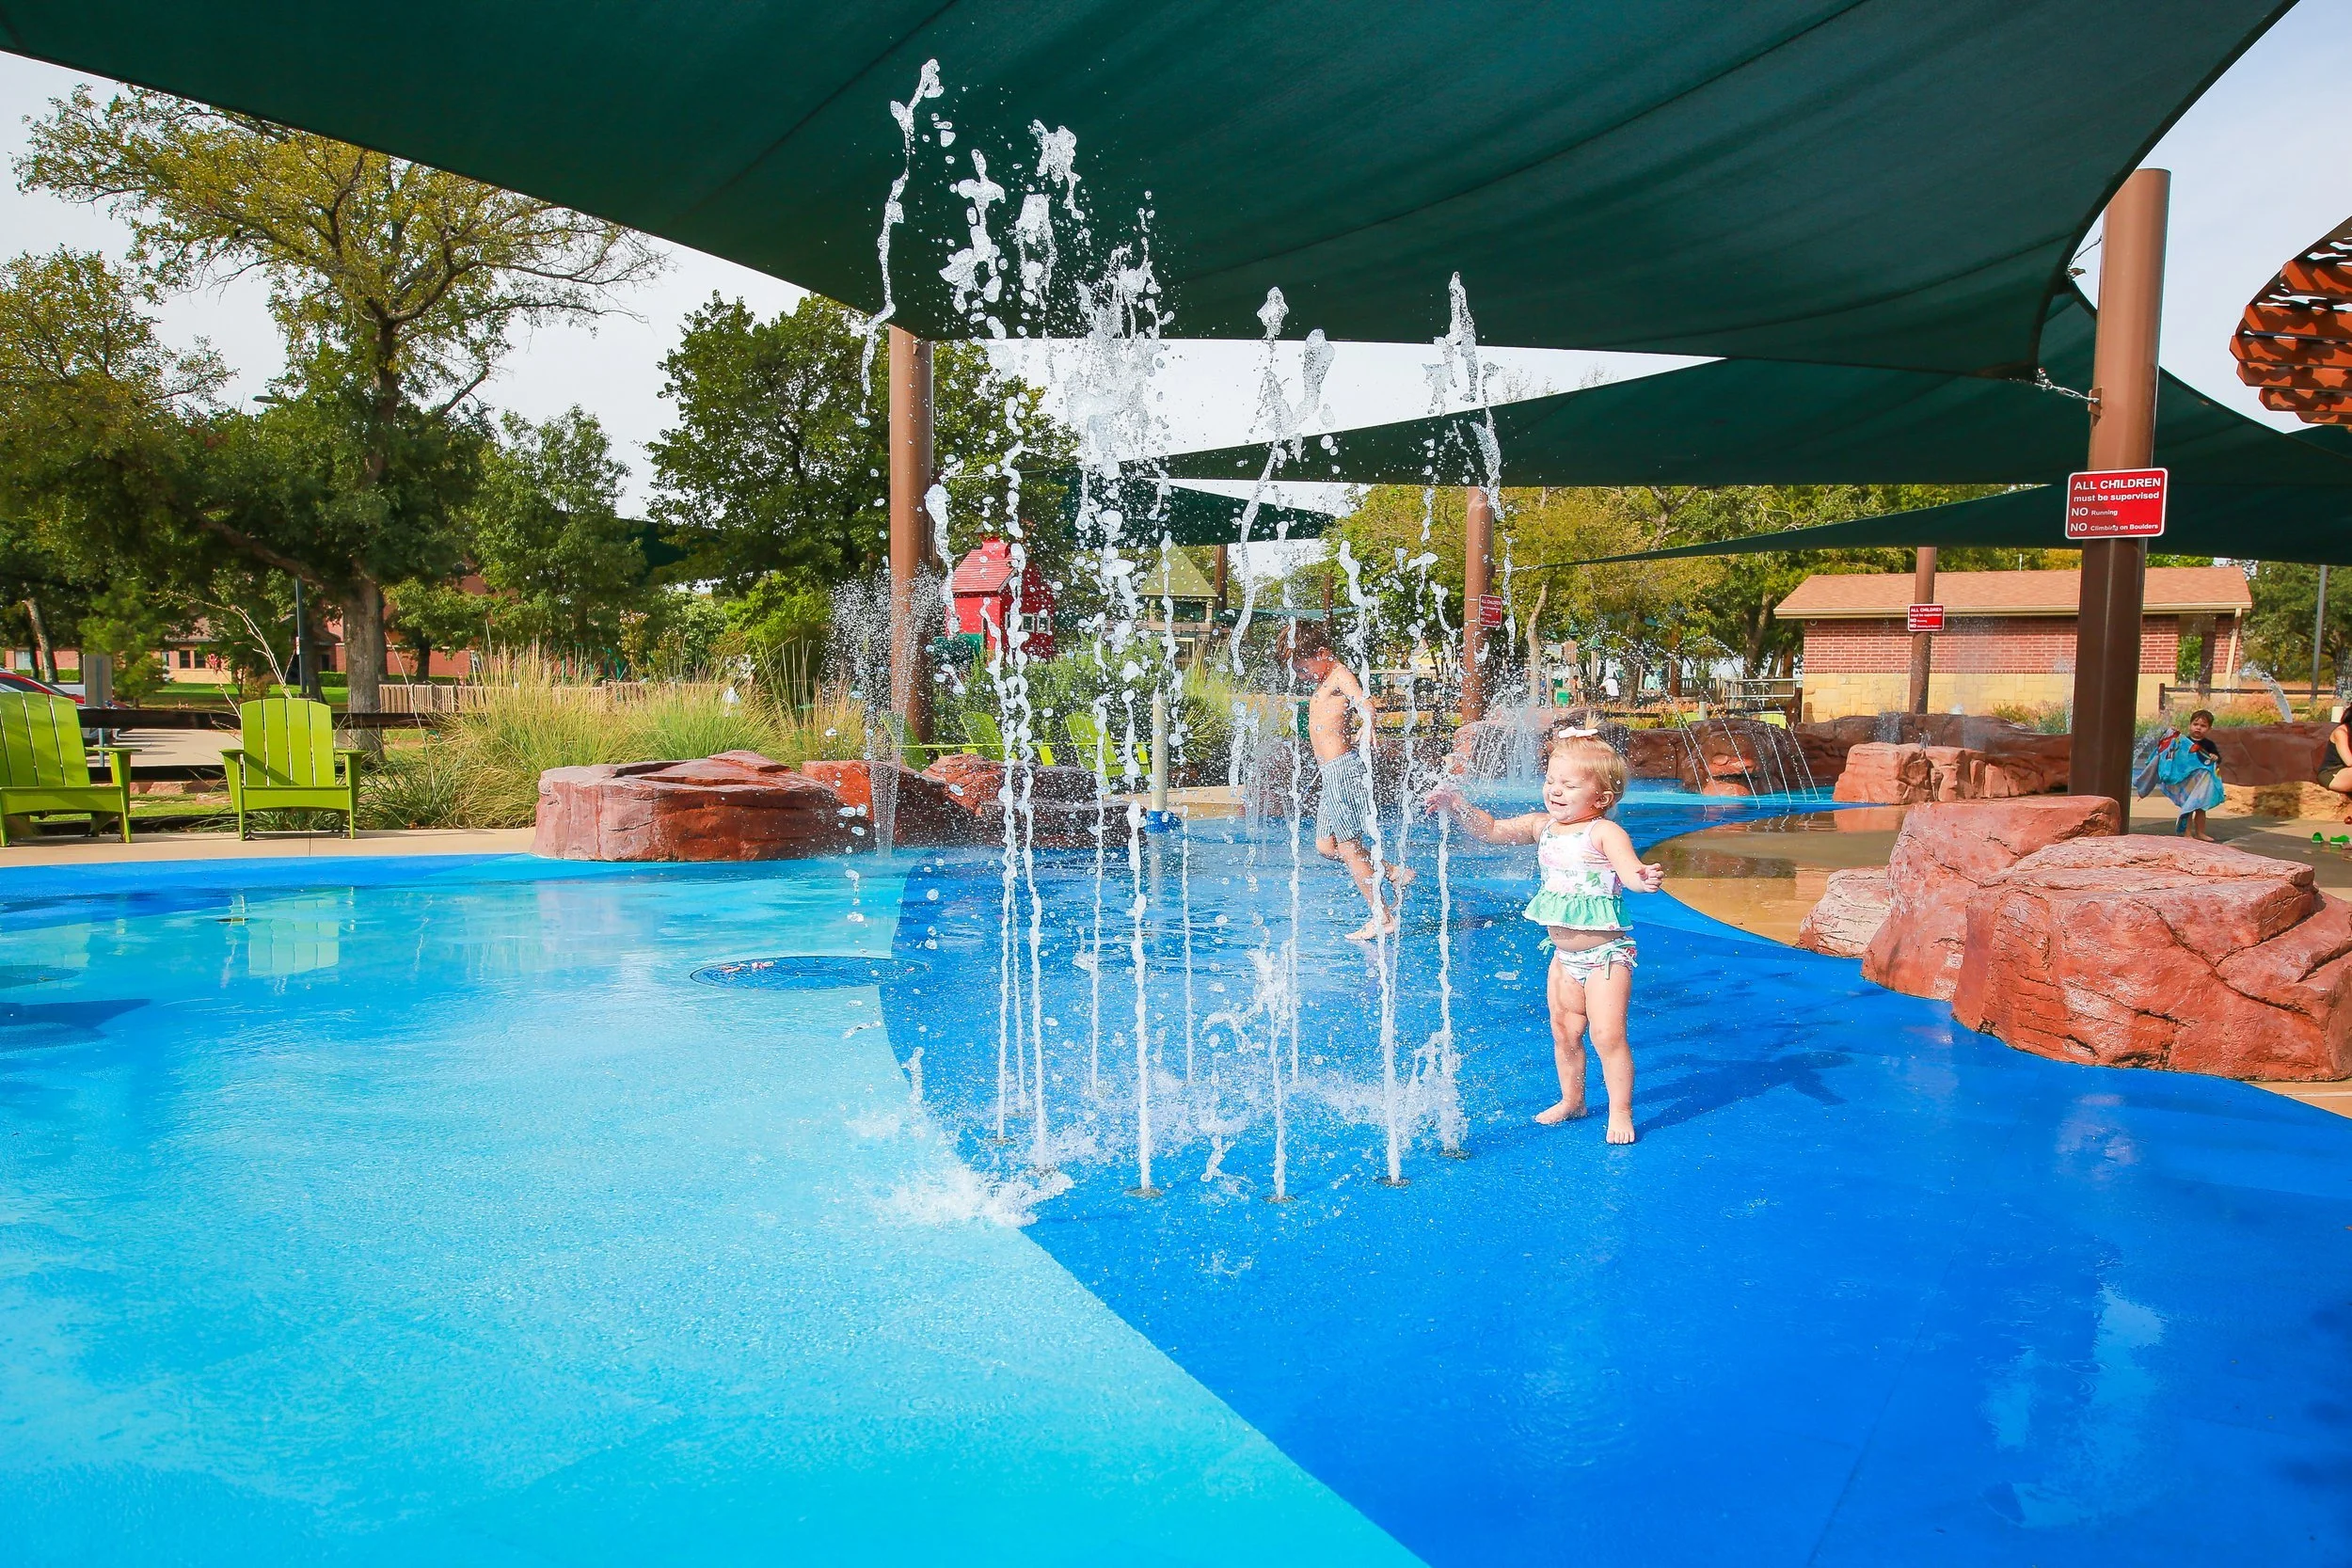
Zero‑depth splash pads/entry zones
Pool decks
Landing pads at slide exits
Locker rooms and bathroom thresholds
Finishing details (depth markers, safety graphics, transitions)
Key issues to look for:
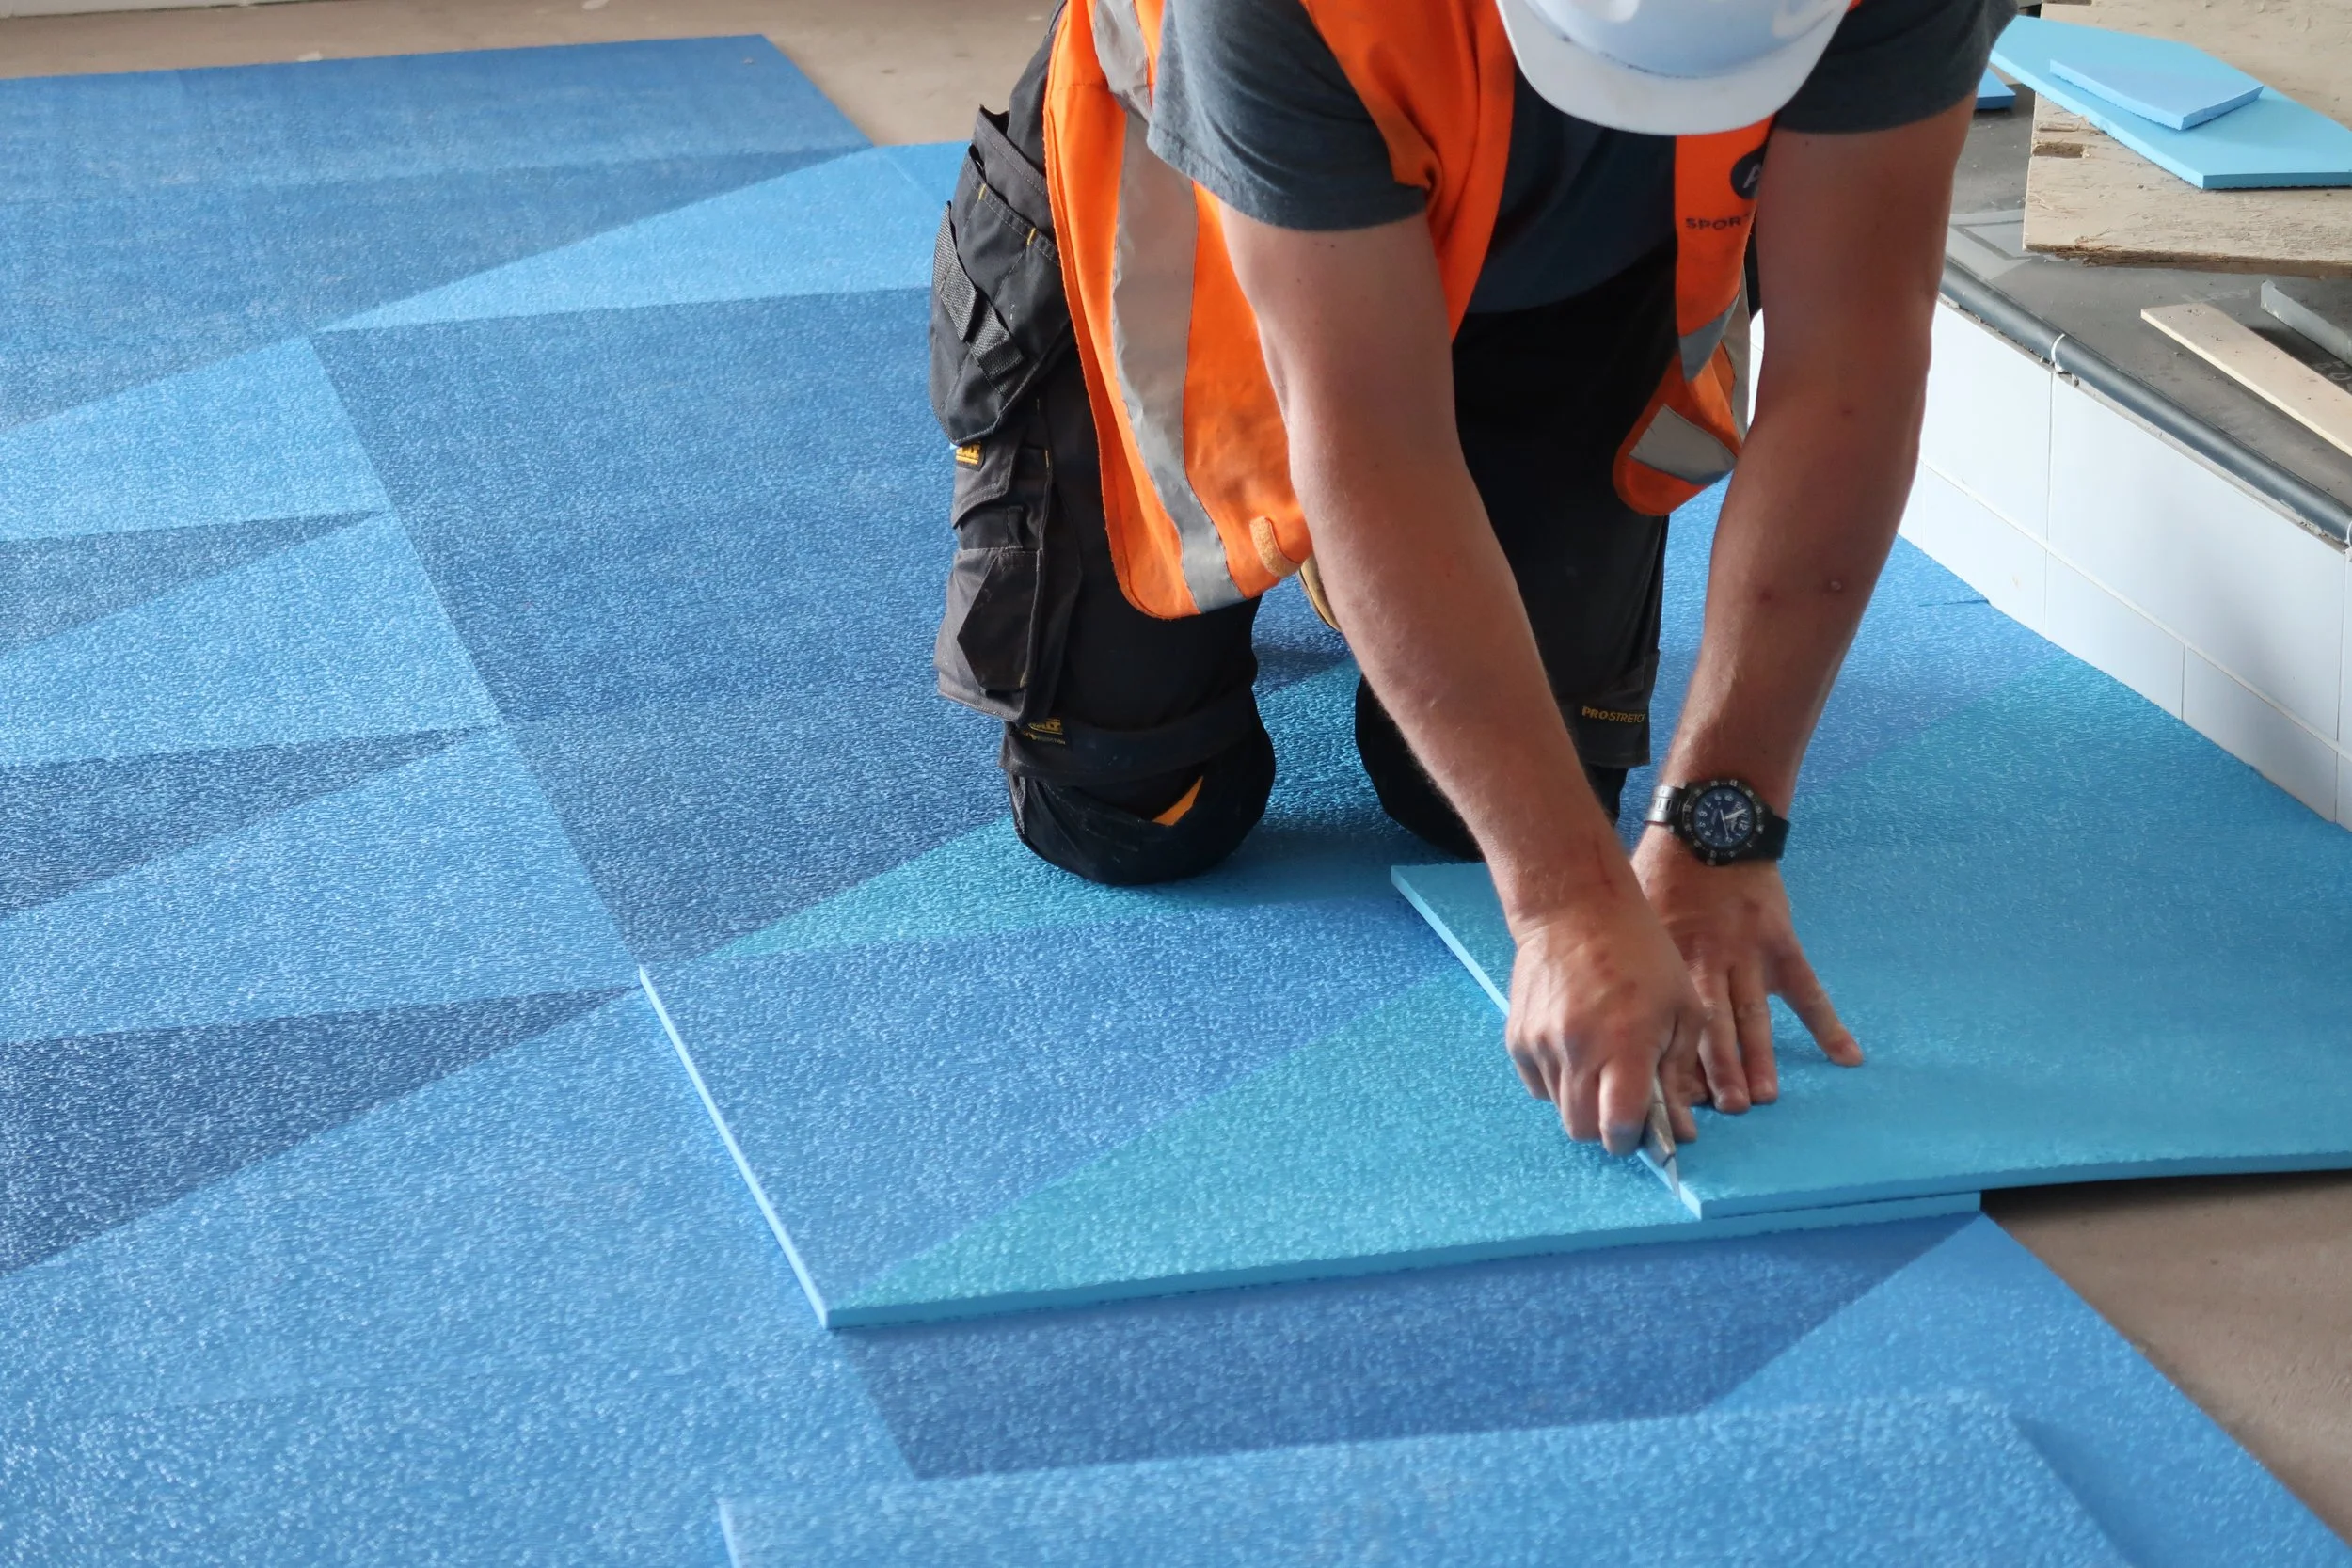
Cracked, warped, or missing tiles
Life Floor's modular system allows for spot replacement; if you lack attic stock, contact Life Floor to match and ship new tiles easily.Surface is becoming difficult to clean
If stains, buildup, or discoloration persist despite following Life Floor’s recommended cleaning methods, it may indicate deep wear, texture loss, or surface degradation. This can be a sign that your tiles are nearing the end of their life and should be evaluated for repair or replacement.Lifted edges, bubbling, floated seams
These are often signs of sub‑surface moisture or adhesive breakdown. Our Registered Aquatic Partner installers can help assess and remediate.Worn slip‑resistant textures
Ripple 2.0 and Ripple Classic textures are certified to NSF/ANSI/CAN 50. If the texture has smoothed out or feels slick, it is time to consider replacement.Faded or missing safety markers (depth indicators, no‑diving symbols, warning signs)
Replacement safety messaging tiles can be swapped in without a full resurfacing.Damaged transition strips
Check locker room transitions and threshold strips at doors. Look for seams separating, unevenly leveled transitions, or reduced traction in high-traffic zones.

Deep Cleaning When Season Ends
Use a gentle, peroxide-based cleaner as outlined in the Life Floor cleaning guide. This removes body oils, soap/scum, and mineral buildup without damaging the tiles.
Avoid pressure washing, unless absolutely necessary, keep fan nozzle wide (20°+), maintain 12″ distance, and limit pressure to ≤ 800 PSI to prevent texture wear (not warranty-covered if incorrectly done).
Rinse thoroughly until the foam completely disappears. If foam persists, repeat rinse.
For step-by-step instructions, recommended products, and expert tips, visit our How to Clean Life Floor page to keep your surface looking its best and performing safely.

Drainage, Water Features & Seam Inspection
At the end of your season, flush drains and water features to clear out deposits and test flow.
Inspect areas around drains or stainless‑steel fixtures for wear or seam separation.
Look for pooling or stagnant water zones. Even slip-resistant surfaces can nurture algae or bacteria if water remains too long.

Assessing Finishing Details & Safety Graphics
Check depth markers, directional graphics, no‑diving tiles, and decorative finishes for fading, peeling, or separation.
All safety messaging can be replaced individually using Life Floor finishing detail tiles. This is efficient and retains design continuity.
Replace or Repair Before Winter
Plan tile replacements or details refresh now while installers are available and downtime is manageable.
Life Floor offers a 5-year limited material warranty. Individual tiles can be replaced as needed providing modular flexibility.
Beyond warranty (5+ years), surface wear, fading, or thinning texture may warrant broader replacement or resurfacing.

LIFE FLOOR END-OF-LIFE INDICATORS
Your Life Floor may be nearing its end‑of‑life when:
Tiles lose texture and slip-resistance falls below certified thresholds (e.g., Ripple’s P5/BPN rating diminishes).
Visual fading due to UV exposure or chemical imbalance leads to an uneven or washed-out look.
If 3/8" tiles have compressed to be 1/4" or less (below recess in concrete or measured with a ruler) especially along high-traffic pathways.
Tiles become difficult to clean.
Widespread tile damage (cracks, punctures, permanent dents) occurs beyond what spot‑repair can sustainably correct.

Off‑Season Maintenance Plan
Store attic stock tiles indoors, flat—not on edge—to prevent warping or expansion/contraction cycles.
Schedule quantitative re‑inspections annually before the pre‑season restart.
Keep a maintenance log of replaced tiles, repairs, cleaning records, and water chemistry outcomes.
End‑Of‑Season Checklist
TASK
Walk and inspect all Life Floor areas
Check transitions and landing pads
Deep-clean all surfaces
Test drains and water systems
Check and replace safety graphics
Order replacement tiles or graphics
Store attic stock properly
Record findings & replacements
PURPOSE
Identify damage, loose tiles, and texture wear
Ensure smooth, slip-resistant edges
Remove residues and prevent microbial growth
Prevent pooling and damage around seams
Maintain clear instructions and branding
Stay on schedule and keep matching
Preserve material integrity off-season
Track maintenance over the years

MAINTAINING YOUR INVESTMENT
A little attention now goes a long way in preserving the performance, safety, and design of your Life Floor installation. By taking the time to clean, inspect, and address any wear before winter sets in, you'll set your facility up for a smooth, stress-free reopening next season. If you notice signs that it may be time for repairs or replacement, our team is here to help with expert guidance and support. Let's keep your spaces safe, stylish, and ready for more memorable moments, season after season.
Need help ordering replacement tiles or planning repairs? Reach out to your Life Floor representative or a Registered Aquatic Partner today.